


Document Actions
gvSIG-Desktop 1.10. User Manual
Once a new project has been created in gvSIG, the layers that we are going to work with are added to the project.
Take the following project as an example, which contains layers for the provinces of South Africa.
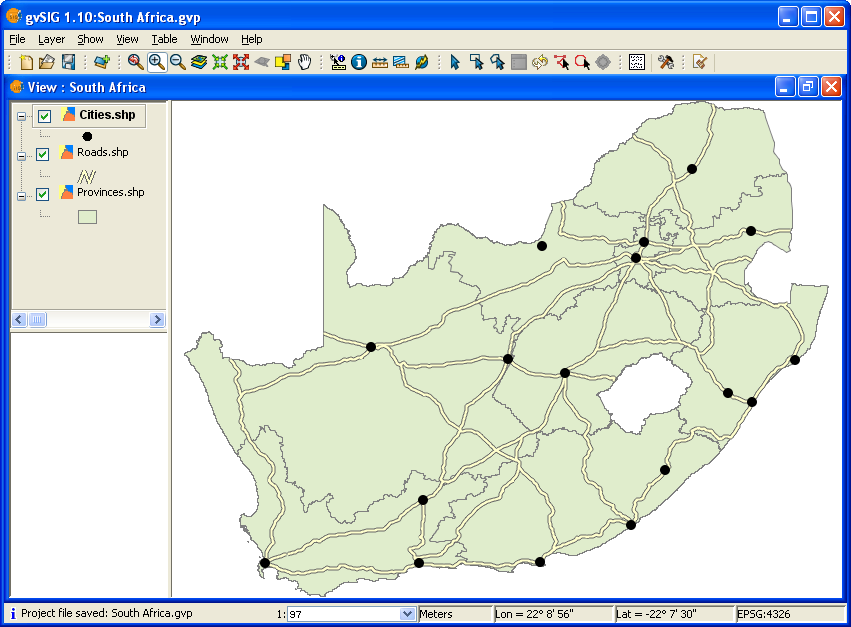
View showing layers in an existing project.
As you can see, three layers have been added to the View, namely Provinces, Roads and Cities. Close the project, remembering to save any changes. Now change the path to one or more of the layers in the project either by renaming the directory or by moving the layer(s) to another directory.
Reopen the gvSIG project and you will see the following window displayed:
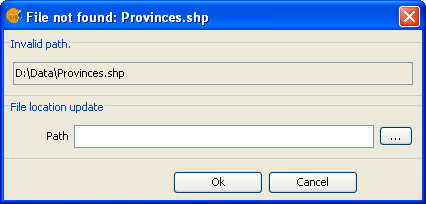
Existing Project window.
When the project is opened, gvSIG will prompt the user to locate layers for which the path has changed and to provide a new path. Once the new path has been provided gvSIG can load the layer and you can resume working on the project.
Cached time 11/21/13 07:03:37 


